Manage Site Content
The Manage Content section of your site provides an easy way for you to view and manage your content through bulk operations. The Manage All Content page incorporates content from all content types on your site into a single table.
When a new feature is added to your site, you can manage content type-specific pages from the Manage Content by Type menu in the right sidebar. Each content-type specific page provides options that are appropriate for that content type. To learn more about using a content type-specific page, view the help page for that content type.
How to view all site content
To view all site pages, click on All Content located in your site admin toolbar.
Filtering content
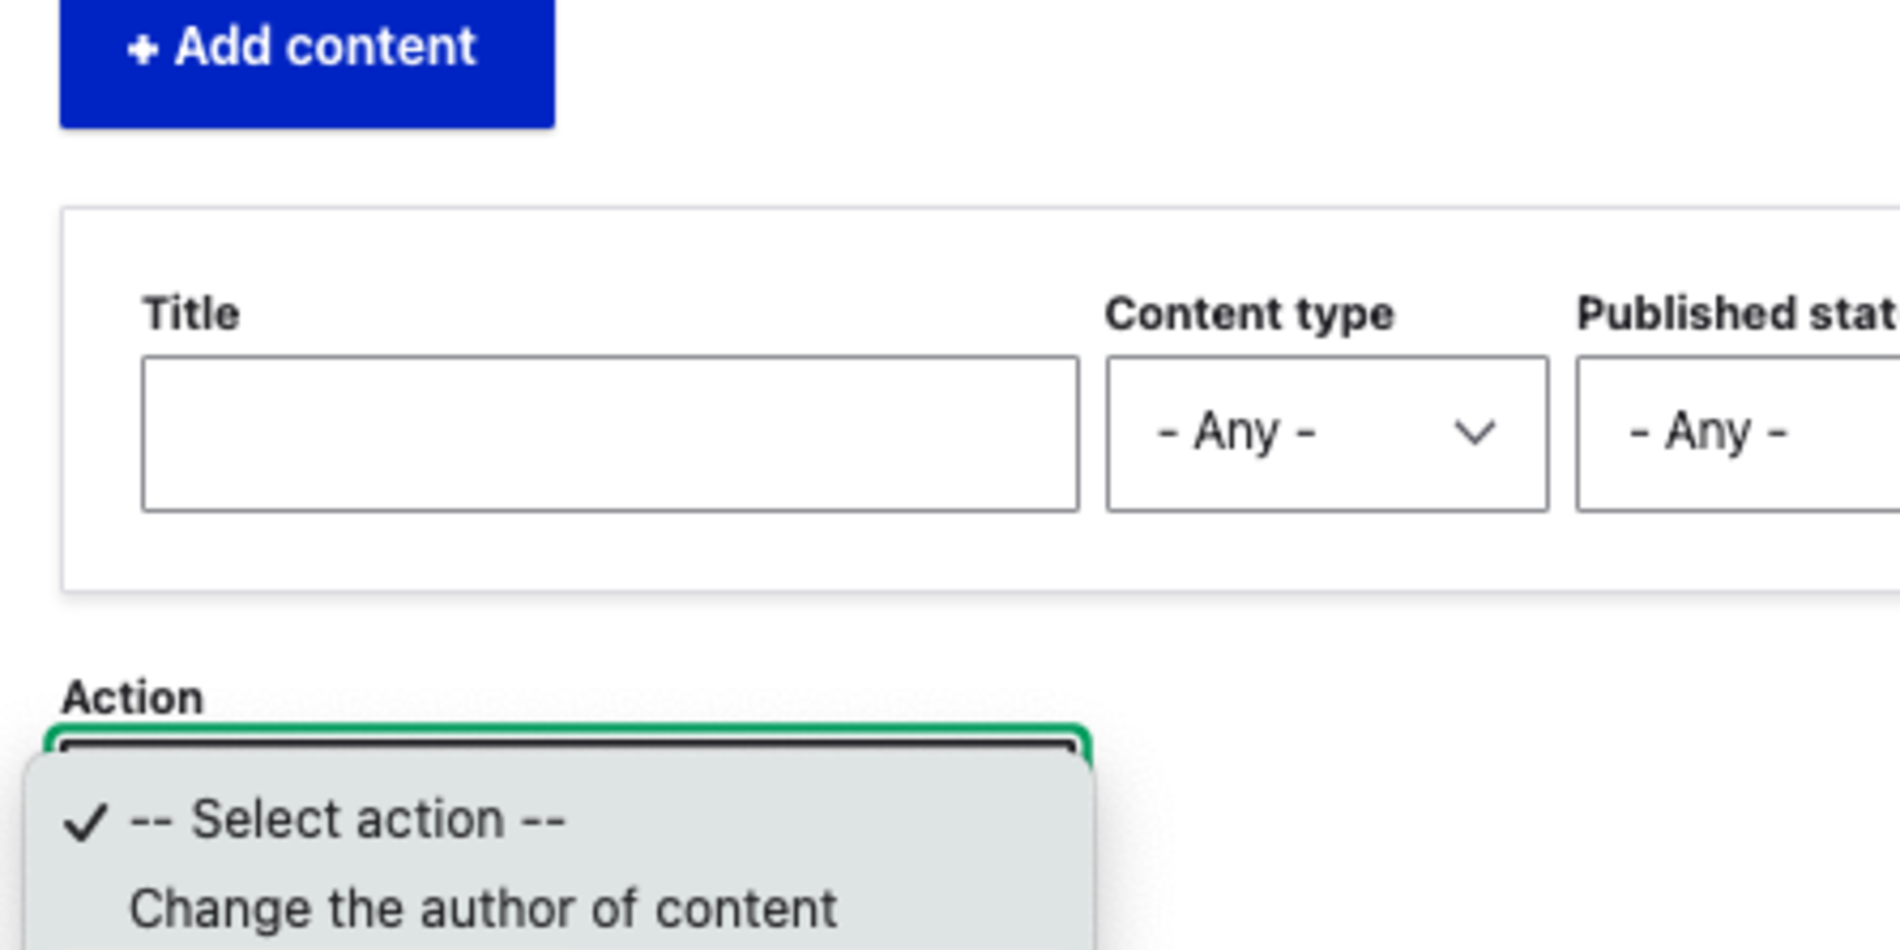
The filters above the table allow you to narrow the content selection in the table. On the Content page, you can filter by Title, Type, Published status, or Author.
To filter by:
- Title - simply enter all or part of the content title.
- Type - click on the arrow and select a content type. Content types vary by site.
- Published status - click on the arrow and select published or unpublished.
- Author - start typing the author's Drupal username and the field will auto-populate. Select the desired author name and click the Apply button to filter content and the Reset button to display all content.
Sorting content
You can sort content by clicking on active column headers. On the Content page, these headers are Title, Content Type, Author, Status, Updated, and Operations. Once you have found the content you are looking for, you can simply edit or click the downward-facing arrow to delete.
Using bulk operations
Bulk operations work best on content-type-specific pages. Bulk operations allow you to select several items and make the same change for each item.
For example, to publish several items:
- Click the checkboxes next to each item you want to publish.
- Click the Select action dropdown.
- Select Publish.
- Click Apply to selected items.
- On the confirmation page select Confirm.
Related topics

Bulk edit content
Bulk editing allows you to modify multiple pages at once.
Clone page(s)
Any page on Stanford Sites can be cloned to create a new page.